Last Updated on 18/11/2026 by Eran Feit
AI security camera natural language search transforms how you review recorded CCTV footage by letting you query raw video files using everyday English instead of scrubbing through hours of timelines. In this guide, you will learn how to build a completely private, local video monitoring pipeline in Python powered by NemoStation’s Marlin-2B Vision-Language Model. Rather than relying on expensive cloud subscriptions or sending sensitive home and business footage to third-party servers, everything runs directly on your own NVIDIA GPU.
Traditional motion-detection cameras only tell you that something moved—leaving you to manually check endless false alarms triggered by shadows, pets, or swaying trees. By upgrading your workflow with AI security camera natural language search, you gain genuine contextual understanding of your video streams. You save hours of tedious review time, eliminate recurring per-camera API fees, and keep your surveillance data 100% offline under your complete control.
To achieve this, you will walk step-by-step through configuring a clean Linux environment inside Windows Subsystem for Linux (WSL2), isolating dependencies with Conda, and installing PyTorch alongside torchcodec and Hugging Face Transformers. Once the environment is ready, you will run a complete Python script that loads the lightweight 2-billion-parameter Marlin-2B model in bfloat16 precision directly onto your CUDA-enabled graphics card.
From there, you will put the model to work across two practical modes. First, you will use temporal grounding to search for specific actions—such as a person walking close toward the camera—and automatically extract a 15-frame visual evidence grid saved via Matplotlib. Second, you will run automated dense captioning to generate a structured, second-by-second event log summarizing everything that happens across your entire video clip.
How Does AI Security Camera Natural Language Search Actually Work? At its core, AI security camera natural language search bridges the gap between raw video pixels and human language using multimodal Vision-Language Models (VLMs). Unlike classic object detectors that simply draw bounding boxes around isolated classes like “person” or “car,” a video VLM processes sequences of frames over time. By sampling frames at a steady rate and mapping visual features into the same semantic space as text, the model understands not just what objects appear on screen, but how they move, interact, and change from one second to the next.
The primary target of this architecture is twofold: temporal grounding and dense event captioning . Temporal grounding acts like a smart search engine for video—you provide a plain-English description of an event, and the model pinpoints the exact start and end timestamps where that action occurs. Dense captioning works in the opposite direction, watching the entire clip and translating complex visual activity into a structured, chronological timeline of human-readable descriptions without needing predefined rules.
Because Marlin-2B packs this reasoning capability into a compact 2-billion-parameter footprint, it runs comfortably on consumer-grade GPUs without sacrificing timestamp precision. Under the hood, hardware-accelerated video decoders like torchcodec and PyAV feed sampled frames into the model at a controlled resolution and frame rate. This pipeline keeps VRAM usage low while preserving enough spatial and temporal detail to spot subtle security events—making local, plain-English video search practical on standard desktop hardware.
Marlin-2B tutorial If you have ever had to review hours of security footage just to find a single event, you know how tedious and time-consuming it can be. In this tutorial, you will build a local, GPU-accelerated solution to that problem using Python, PyTorch, and NemoStation’s Marlin-2B Vision-Language Model (VLM). This hands-on guide will show you how to write a Python script that connects to your raw video feed, accepts natural language searches, and automatically extracts chronological evidence and event timelines. By the end of this guide, you will have a fully functioning AI video-search assistant running entirely on your own hardware.
Let’s Build It: Analyzing Video with Python, PyTorch, and Marlin-2B The primary goal of this Python code is to turn unstructured, raw video files into searchable, understandable data without sending your private footage to a cloud service. By leveraging Marlin-2B, a compact and highly efficient vision-language model, the script can ingest a security camera video file and evaluate its visual contents against your natural-language questions. Whether you want to pinpoint a specific moment or get a comprehensive timeline of everything that happened, this code acts as an automated, intelligent video examiner.
At a high level, the script accomplishes this through a two-stage process. First, it handles the complex logistics of loading a 2-billion-parameter VLM into your GPU’s VRAM using PyTorch and bfloat16 precision to keep hardware demands low. It then leverages hardware-accelerated decoding via torchcodec and PyAV to parse the video file (security_camera.mp4) into manageable frame samples. This establishes a highly optimized pipeline that can match visual frames with natural language queries on standard consumer hardware.
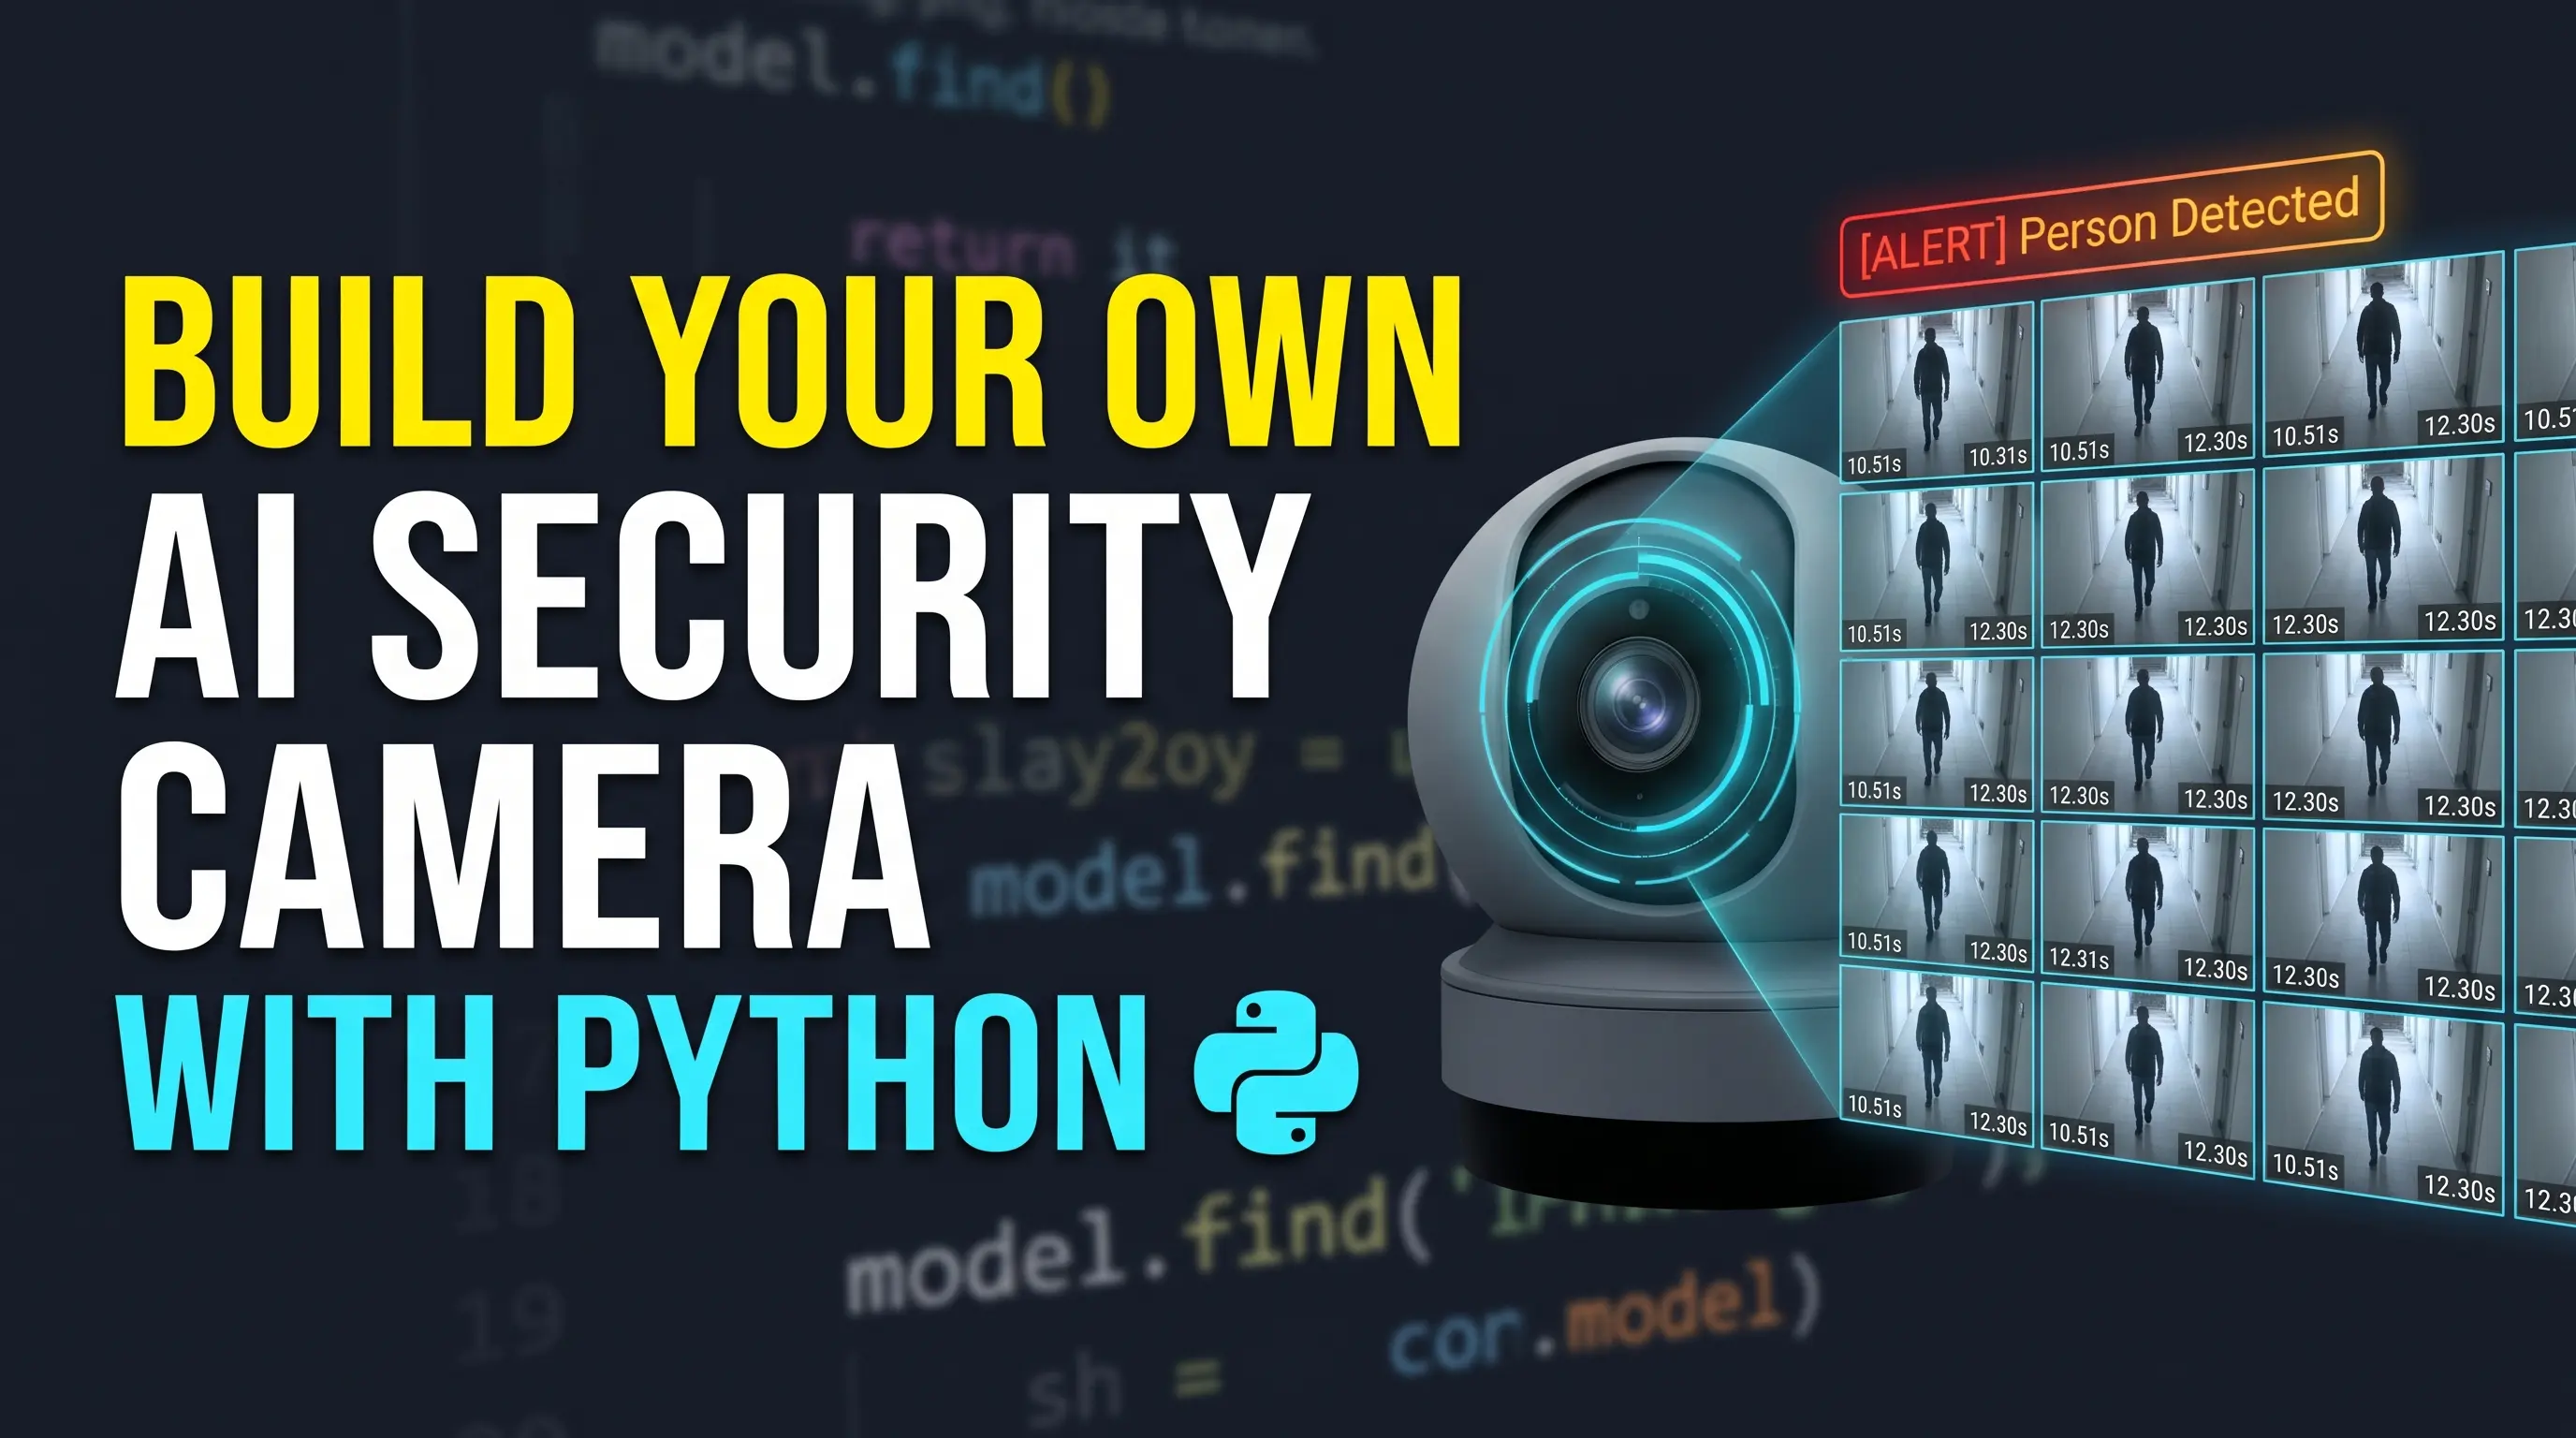
Once the video and model are loaded, the code executes two distinct AI analysis tasks. Under “Mode 1” (Temporal Grounding), the script uses the model’s find feature to search for a specific target—like “a person walking close toward the camera.” When it locates the matching scene, the code calculates the start and end times, uses Python to slice that exact segment of the video, and arranges 15 evenly spaced frames into a visual grid. Saving this grid as detected_event_15_frames.jpg using Matplotlib gives you an instant, multi-frame storyboard of the event without ever having to open a video player.
Under “Mode 2” (Captioning), the script runs the model’s caption feature to perform a dense event analysis of the entire clip. Rather than searching for a single target, the model observes the entire video chronologically and generates a natural-language summary of the setting, followed by a timestamped log of every notable event. By outputting both a targeted 15-frame visual grid and a timestamped timeline, this script saves you from manually scrubbing through hours of CCTV footage, instantly providing the precise “what” and “when” of your video data.
How Does This Code Find Specific Events Without Traditional Object Detection? Instead of using older AI methods that rely on bounding boxes to identify isolated objects (like “car” or “person”) frame-by-frame, this script utilizes a modern Vision-Language Model (VLM) that reads video and text as a unified stream of data. The code feeds both the video frames and your plain-English search query into Marlin-2B, which has been trained to understand the relationship between visual actions and language over time. Because it comprehends temporal context (how movements unfold over several seconds), the model can instantly match your natural-language descriptions to the exact timestamps where those behaviors occur, allowing you to find complex activities—not just static objects—with a single search.
Link to the tutorial here
Download the code for the tutorial here
Link for Medium users here
Master Computer Vision
Follow my latest tutorials and AI insights on my
Personal Blog .
Beginner Complete CV Bootcamp
Foundation via PyTorch & TF.
Get Started → Interactive Deep Learning with PyTorch
Hands-on interactive practice.
Start Learning → Advanced Modern CV: GPT & OpenCV4
Vision GPT production models.
Go Advanced → How to Search Any Security Video Using Plain English on Your Own GPU 10 Setting Up Your Isolated WSL2 and GPU Environment Running a modern Vision-Language Model smoothly on Windows requires avoiding common C++ compiler conflicts and dynamic library mismatches. By setting up Windows Subsystem for Linux (WSL2) alongside an isolated Conda environment, you create a clean, reproducible Linux workspace that talks directly to your NVIDIA GPU. This foundation ensures that hardware-accelerated video decoding and PyTorch CUDA tensors operate without system-level dependency collisions.
In this first phase, you will update your Ubuntu packages, install essential media headers like FFmpeg , and create a dedicated Python 3.11 environment. We then pin exact versions of PyTorch with CUDA , torchcodec , PyAV , and Hugging Face Transformers so every module communicates reliably. Finally, you will authenticate with your Hugging Face token and launch Visual Studio Code directly inside your WSL2 workspace.
Why Do We Pin Specific Library Versions Instead of Running a Standard Pip Install? Video Vision-Language Models rely on tight synchronization between PyTorch’s CUDA backend, hardware video decoders like torchcodec, and Hugging Face’s custom model architectures (trust_remote_code=True). Pinning tested versions prevents sudden API breaking changes in transformers or av from disrupting frame sampling and tensor shapes during inference.
### Open Powershell and run wsl to enter your Linux environment wsl ### Update Ubuntu package lists and upgrade existing system libraries sudo apt update && sudo apt upgrade -y ### Install C++ build tools, Git, FFmpeg, and core video development headers sudo apt install -y build-essential git ffmpeg libsm6 libxext6 libavcodec-dev libavformat-dev libavutil-dev ### Create a clean Python 3.11 Conda environment named marlin conda create -n marlin python= 3.11 -y ### Activate the newly created marlin Conda environment conda activate marlin ### Pin core Python packaging and wheel build tools pip install pip== 25.0 .1 setuptools== 75.8 .0 wheel== 0.45 .1 packaging== 24.2 ### Install PyTorch, Torchvision, and Torchaudio compiled for CUDA 12.4 pip install torch== 2.6 .0 torchvision== 0.21 .0 torchaudio== 2.6 .0 --index-url https://download.pytorch.org/whl/cu124 ### Install PyAV, Pillow, and torchcodec for fast video frame decoding pip install av== 14.1 .0 Pillow== 11.1 .0 torchcodec== 0.2 .0 ### Install Hugging Face Transformers, Accelerate, and Qwen vision utilities pip install transformers== 5.7 .0 huggingface-hub== 1.5 .0 accelerate== 1.4 .0 qwen-vl-utils== 0.0 .14 safetensors== 0.5 .2 ### Install FFmpeg inside the Conda environment within supported version bounds conda install -c conda-forge " ffmpeg>=6,<8 " -y ### Install Matplotlib to generate visual evidence grids pip install matplotlib== 3.10 .0 ### Set your Hugging Face access token as an environment variable and log in export HF_TOKEN = " hf_your_actual_token_here " hf auth login ### Launch Visual Studio Code connected directly to your WSL2 folder code . ### Select the 'marlin' Conda Python interpreter inside VS Code before running the script With your Conda environment configured and authenticated, your workstation is ready to load Marlin-2B directly onto your GPU.
Configuring Frame Sampling and Loading Marlin-2B onto Your GPU Before analyzing a single frame, your Python script needs strict boundaries around VRAM consumption and temporal resolution . High-definition security footage can easily overwhelm consumer graphics cards if every pixel of every frame is fed into a Vision-Language Model simultaneously. By configuring environment variables like VIDEO_MAX_PIXELS and FPS, you instruct the underlying Qwen-VL video processor to downsample frames to an efficient 448×448 footprint at 2 frames per second .
This smart preprocessing lets a single pass cover up to two full minutes of footage (240 frames) while keeping memory overhead low. Once the target video file is verified on disk, the script initializes NemoStation/Marlin-2B using AutoModelForCausalLM.from_pretrained. Loading the weights in torch.bfloat16 precision directly onto cuda halves the memory footprint compared to standard 32-bit floats while preserving full analytical accuracy for AI security camera natural language search .
How Does Setting FPS and VIDEO_MAX_PIXELS Protect Your GPU From Out-of-Memory Errors? Video transformers convert spatial patches across time into token sequences, meaning high resolutions or high frame rates cause quadratic spikes in attention memory. Capping VIDEO_MAX_PIXELS to 200704 and sampling at 2.0 FPS bounds the total visual token count so Marlin-2B fits comfortably inside an 8GB consumer GPU.
### Import operating system utilities for file checks and environment variables import os ### Import PyAV for fast, frame-accurate video container decoding import av ### Import PyTorch to manage GPU tensors and bfloat16 precision import torch ### Import Matplotlib to render and save the multi-frame visual grid import matplotlib.pyplot as plt ### Import Hugging Face AutoModelForCausalLM to load the Marlin-2B architecture from transformers import AutoModelForCausalLM # ========================================== # CONFIGURATION # ========================================== ### Optional hardcoded token placeholder (commented out for security) #HF_TOKEN = "hf_XXXXXXXXXXXXXXXXXXXXXXXXXXXX" ### Read the Hugging Face authentication token from your system environment HF_TOKEN = os.getenv ( "HF_TOKEN" , " YOUR_HUGGING_FACE_TOKEN " ) ### Define the Hugging Face repository ID for NemoStation's Marlin-2B model MODEL_ID = " NemoStation/Marlin-2B " ### Specify the local path to your input security camera footage VIDEO_PATH = " videos/security_camera.mp4 " ### Define the output filename for the 15-frame visual evidence grid OUTPUT_GRID_PATH = " detected_event_15_frames.jpg " ### Export the Hugging Face token into the runtime environment os.environ[ "HF_TOKEN" ] = HF_TOKEN ### Force the video reader backend to use hardware-friendly torchcodec os.environ[ "FORCE_QWENVL_VIDEO_READER" ] = " torchcodec " ### Cap individual frame resolution to roughly 448x448 pixels to save VRAM os.environ[ "VIDEO_MAX_PIXELS" ] = " 200704 " # Frame resolution ~448x448 ### Sample the input video at 2 frames per second for balanced temporal coverage os.environ[ "FPS" ] = " 2.0 " # Sample rate: 2 frames per second ### Limit the maximum sampled frames per clip to 240 (~2 minutes at 2 FPS) os.environ[ "FPS_MAX_FRAMES" ] = " 240 " # Default model cap (covers ~2 minutes) ### Verify that the target security video exists before loading heavy model weights if not os.path.exists ( VIDEO_PATH ) : ### Print a clear error message if the video path is invalid print (f "Error: Target video file '{VIDEO_PATH}' not found. Please provide a valid file." ) ### Exit the script early to prevent downstream runtime crashes exit () ### Notify the user that model weights are being transferred to the GPU print ( "Loading model weights to GPU (bfloat16)..." ) ### Download and load Marlin-2B onto CUDA in bfloat16 precision with custom model code enabled model = AutoModelForCausalLM.from_pretrained ( MODEL_ID, trust_remote_code = True, dtype = torch.bfloat16, device_map = { "" : "cuda" }, token = HF_TOKEN ) Now that the model sits ready in GPU memory, you can query your footage using plain English and visually verify the exact moment an event occurs.
Pinpointing Events in Plain English and Building a 15-Frame Visual Grid This is where AI security camera natural language search truly shines over legacy motion alerts. Instead of writing brittle rules or training custom classifiers, you pass a descriptive sentence—such as "a person walking close toward the camera"—directly into model.find(). Marlin-2B evaluates the entire video clip and returns a dictionary containing the exact span tuple (start_sec and end_sec) where that behavior unfolds.
Rather than leaving you with raw numbers in a terminal, the script immediately translates those timestamps into visual proof. It calculates a 6-second inspection window starting 1.5 seconds before the detected event so you can see the approach as well as the action itself. Using PyAV to decode sequentially from the beginning of the container guarantees frame-accurate timestamps, which Matplotlib then arranges into a crisp 3×5 storyboard grid saved directly to disk.
Why Does the Script Decode Video Sequentially With PyAV Instead of Seeking Directly to the Timestamp? Compressed CCTV MP4 files rely on inter-frame compression (keyframes and delta frames), meaning direct timestamp seeking can occasionally land on slightly imprecise frame boundaries. Decoding sequentially with PyAV checks each frame’s exact presentation timestamp (frame.time) to guarantee crystal-clear, chronologically accurate evidence frames.
# Find mode : Detect specific events in the video by query # ===================================================================== ### Print a visual section divider for Mode 1 in the console print ( "\n" + " = " * 60 ) ### Display the active mode title for Temporal Grounding print ( "MODE 1: Temporal Grounding (Find Mode)" ) ### Print the closing header divider line print ( "=" * 60 ) # Targeted query for close person movement ### Define the plain-English action description to search for in the footage query = " a person walking close toward the camera " ### Log the active search query to the terminal print (f "Searching for event: '{query}'..." ) ### Run Marlin-2B temporal grounding to locate the matching start and end timestamps find_result = model.find ( VIDEO_PATH, event=query ) # Only textual output if no event is detected, otherwise extract frames and create a visual grid #if find_result.get("span"): # start_sec, end_sec = find_result["span"] # print(f"[ALERT] Person detected between: {start_sec:.1f}s and {end_sec:.1f}s") # print(f"Raw model response: {find_result.get('raw')}") #else: # print("[INFO] No matching person activity detected in the specified range.") ### Check whether the model returned a valid timestamp span for the query if find_result.get( "span" ): ### Unpack the detected start and end times in seconds start_sec, end_sec = find_result[ " span " ] ### Print an alert showing the exact detected time window print (f "[ALERT] Person detected between: {start_sec:.1f}s and {end_sec:.1f}s" ) ### Print the raw text response generated by Marlin-2B print (f "Raw model response: {find_result.get('raw')}" ) # Extract 15 frames across a 6-second window (1.5s before start_sec) ### Start the capture window 1.5 seconds early for context, clamped at 0.0s window_start = max ( 0.0, start_sec - 1.5 ) ### Set the total visual capture span to 6.0 seconds duration = 6.0 ### Define the exact number of frames to extract for the 3x5 grid num_frames = 15 ### Compute 15 evenly spaced target timestamps across the 6-second window target_timestamps = [window_start + i * (duration / (num_frames - 1 )) for i in range ( num_frames ) ] ### Open the input video file using PyAV container = av.open ( VIDEO_PATH ) ### Initialize an empty list to store (timestamp, PIL image) pairs extracted_frames = [] ### Track which target timestamp we are currently waiting to capture current_target_idx = 0 # Sequential decode from start guarantees exact timestamp accuracy ### Iterate through decoded video frames sequentially from the start of the stream for frame in container.decode ( video = 0 ) : ### Stop decoding once all 15 target frames have been collected if current_target_idx > = len ( target_timestamps ) : break ### Check if the current frame's timestamp has reached or passed the next target if frame.time is not None and frame.time > = target_timestamps[current_target_idx]: ### Convert the frame to a PIL image and store it with its timestamp extracted_frames.append((frame.time, frame.to_image () )) ### Advance to the next target timestamp current_target_idx += 1 ### Close the PyAV video container to free system memory container.close () ### Proceed to build the visual grid if at least one frame was extracted if extracted_frames: # Create a 3x5 visual grid ( 15 frames total ) ### Initialize a 20x10 inch Matplotlib figure arranged in 3 rows and 5 columns fig, axes = plt.subplots ( 3, 5 , figsize= ( 20 , 10 ) ) ### Flatten the 2D grid of subplot axes into a 1D list for easy iteration axes = axes.flatten () ### Loop through all 15 subplot slots to populate images or hide unused slots for idx, ax in enumerate ( axes ) : ### Check if an extracted frame exists for the current grid index if idx < len ( extracted_frames ) : ### Unpack the timestamp and image object ts, img = extracted_frames[idx] ### Render the video frame inside the current subplot ax.imshow(img ) ### Label the subplot with its exact timestamp in seconds ax.set_title(f "{ts:.2f}s" , fontsize= 11 , fontweight= " bold " ) ### Hide axis ticks and borders for a clean visual presentation ax.axis( "off" ) ### Add a bold main title summarizing the detected event time range plt.suptitle( f "15-Frame Sequence Around Detection ({start_sec:.1f}s - {end_sec:.1f}s)" , fontsize = 15 , fontweight = " bold " ) ### Adjust subplot spacing automatically so titles do not overlap plt.tight_layout () ### Save the 15-frame evidence grid to disk at 150 DPI plt.savefig ( OUTPUT_GRID_PATH, dpi= 150 ) ### Confirm the saved file location in the terminal print (f "[INFO] Saved 15-frame sequence to '{OUTPUT_GRID_PATH}'" ) ### Display the generated grid window on screen plt.show () else: ### Log an informational message if the queried event did not appear in the clip print ( "[INFO] No matching person activity detected in the specified range." ) Within seconds, you get both exact start/end timestamps in your console and a high-resolution detected_event_15_frames.jpg evidence sheet ready for review or archiving.
The final result : How to Search Any Security Video Using Plain English on Your Own GPU 11 Generating a Complete Scene-by-Scene Security Log Automatically Sometimes you do not know what to search for in advance—you simply want an automated summary of everything that happened while you were away. In the final section of the script, Mode 2 switches Marlin-2B from targeted search to dense video captioning via model.caption(). Rather than hunting for a single query, the model watches the entire clip holistically and structures its output into a high-level scene overview alongside a chronological list of discrete events.
By iterating over caption_result.get("events", []), your script prints clean, second-precise entries ([start -> end]: description) that read like an automated security guard’s logbook. If a video produces an unparsed caption fallback, the code gracefully prints the raw summary text so no analytical data is ever lost. Combining Mode 1 and Mode 2 gives you both surgical search precision and full situational awareness in one lightweight Python script.
What Is the Difference Between model.find() and model.caption() in Marlin-2B? model.find() performs temporal grounding , taking a user-supplied text query and returning the specific (start, end) timestamp interval where that action occurs. In contrast, model.caption() performs dense video captioning , scanning the entire clip autonomously to produce a general scene description plus a complete chronological list of all detected events and their timestamps.
# Caption mode : Generate a full scene and event breakdown of the video # ===================================================================== ### Print a visual section divider for Mode 2 in the console print ( "\n" + " = " * 60 ) ### Display the active mode title for Dense Scene & Event Breakdown print ( "MODE 2: Full Scene & Event Breakdown (Caption Mode)" ) ### Print the closing header divider line print ( "=" * 60 ) ### Run dense video captioning across the clip with a 2048-token output budget caption_result = model.caption ( VIDEO_PATH, max_new_tokens= 2048 ) ### Print the header for the overall environment summary print ( "\nGeneral Scene Overview:" ) ### Output the high-level scene description or a fallback message print (caption_result.get( "scene" , " No scene summary available. " )) ### Print the header for the chronological event log print ( "\nDetailed Event Timeline:" ) ### Retrieve the list of structured timestamped events from the model output events = caption_result.get ( "events" , [] ) ### Check if structured events were successfully parsed if events: ### Iterate through each event dictionary and print its start time, end time, and description for ev in events: print (f "[{ev['start']:.1f}s -> {ev['end']:.1f}s]: {ev['description']}" ) else: ### Fall back to printing the raw caption string if individual events were not parsed print (caption_result.get( "caption" , " No events parsed. " )) With just a single method call, your terminal transforms raw CCTV video into a structured, searchable text timeline ready for database logging or instant alerts.
Frequently Asked Questions (FAQ) What is AI security camera natural language search? AI security camera natural language search lets you query recorded CCTV footage using everyday English sentences instead of scrubbing through timelines manually. Using a multimodal Vision-Language Model like Marlin-2B, the system understands actions over time to pinpoint exact start and end timestamps.
How much GPU VRAM do I need to run NemoStation Marlin-2B locally? Because Marlin-2B is a compact 2-billion-parameter model loaded in bfloat16 precision, it runs comfortably on consumer NVIDIA GPUs with 8GB of VRAM. Capping VIDEO_MAX_PIXELS to 200704 keeps memory usage predictable during inference.
Why should I run this Python tutorial inside WSL2 on Windows? Video processing libraries like torchcodec, PyAV, and custom Hugging Face model kernels compile and link much more reliably in a native Linux environment. WSL2 gives Windows users full access to NVIDIA CUDA drivers while avoiding C++ build conflicts.
Do I need a Hugging Face account to download Marlin-2B? Yes, you need a free Hugging Face account and an access token (HF_TOKEN) to authenticate via hf auth login and download the model weights. Once cached locally, the entire inference pipeline runs 100% offline on your GPU.
How does Marlin-2B differ from traditional YOLO object detection for security cameras? Traditional YOLO detectors identify static object classes frame by frame using bounding boxes without understanding actions over time. Marlin-2B analyzes temporal sequences across frames, letting you search for specific behaviors like a person walking close toward the camera.
Can I analyze security videos longer than 2 minutes? By default, setting FPS=2.0 and FPS_MAX_FRAMES=240 covers up to 120 seconds (2 minutes) of footage per pass. For longer recordings, you can split the video into 2-minute segments in Python or lower the sampling FPS to 1.0.
When model.find() detects an event span, extracting 15 frames across a 6-second window creates an immediate visual storyboard. This lets you verify events at a glance from a single JPG file without opening a video player.
What happens if torchcodec throws a decoding error on my video file? Ensure that FFmpeg (>=6,<8) is installed both at the Ubuntu system level and inside your Conda environment. Also verify that your input file is encoded in a standard MP4 container.
Can I customize the natural language search query for different security alerts? Yes, you can change the query variable to any plain-English description, such as a delivery driver leaving a package at the door. Marlin-2B resolves the query dynamically without requiring any retraining.
No, once the model weights are downloaded from Hugging Face, every frame decode and timestamp query runs strictly on your local GPU. Your surveillance footage never leaves your machine.
Conclusion: Turning Passive Security Cameras into an Intelligent Local Monitor Building your own AI security camera natural language search system proves that you no longer need enterprise cloud subscriptions or massive server farms to understand raw video. By combining WSL2 , PyTorch , torchcodec , and NemoStation’s Marlin-2B , you transformed a standard MP4 recording into an interactive, searchable timeline running 100% locally on your GPU.
Whether you use Mode 1 to hunt down specific actions and generate a 15-frame visual evidence grid, or Mode 2 to log every scene automatically, this workflow puts complete privacy and speed back in your hands. From here, you can easily expand the script to watch a live RTSP camera folder, trigger instant Telegram alerts when specific queries match, or batch-process overnight recordings while you sleep.
Connect : ☕ Buy me a coffee — https://ko-fi.com/eranfeit
🖥️ Email : feitgemel@gmail.com
🌐 https://eranfeit.net
🤝 Fiverr : https://www.fiverr.com/s/mB3Pbb
Enjoy,
Eran
 Skip to content