Last Updated on 21/09/2026 by Eran Feit
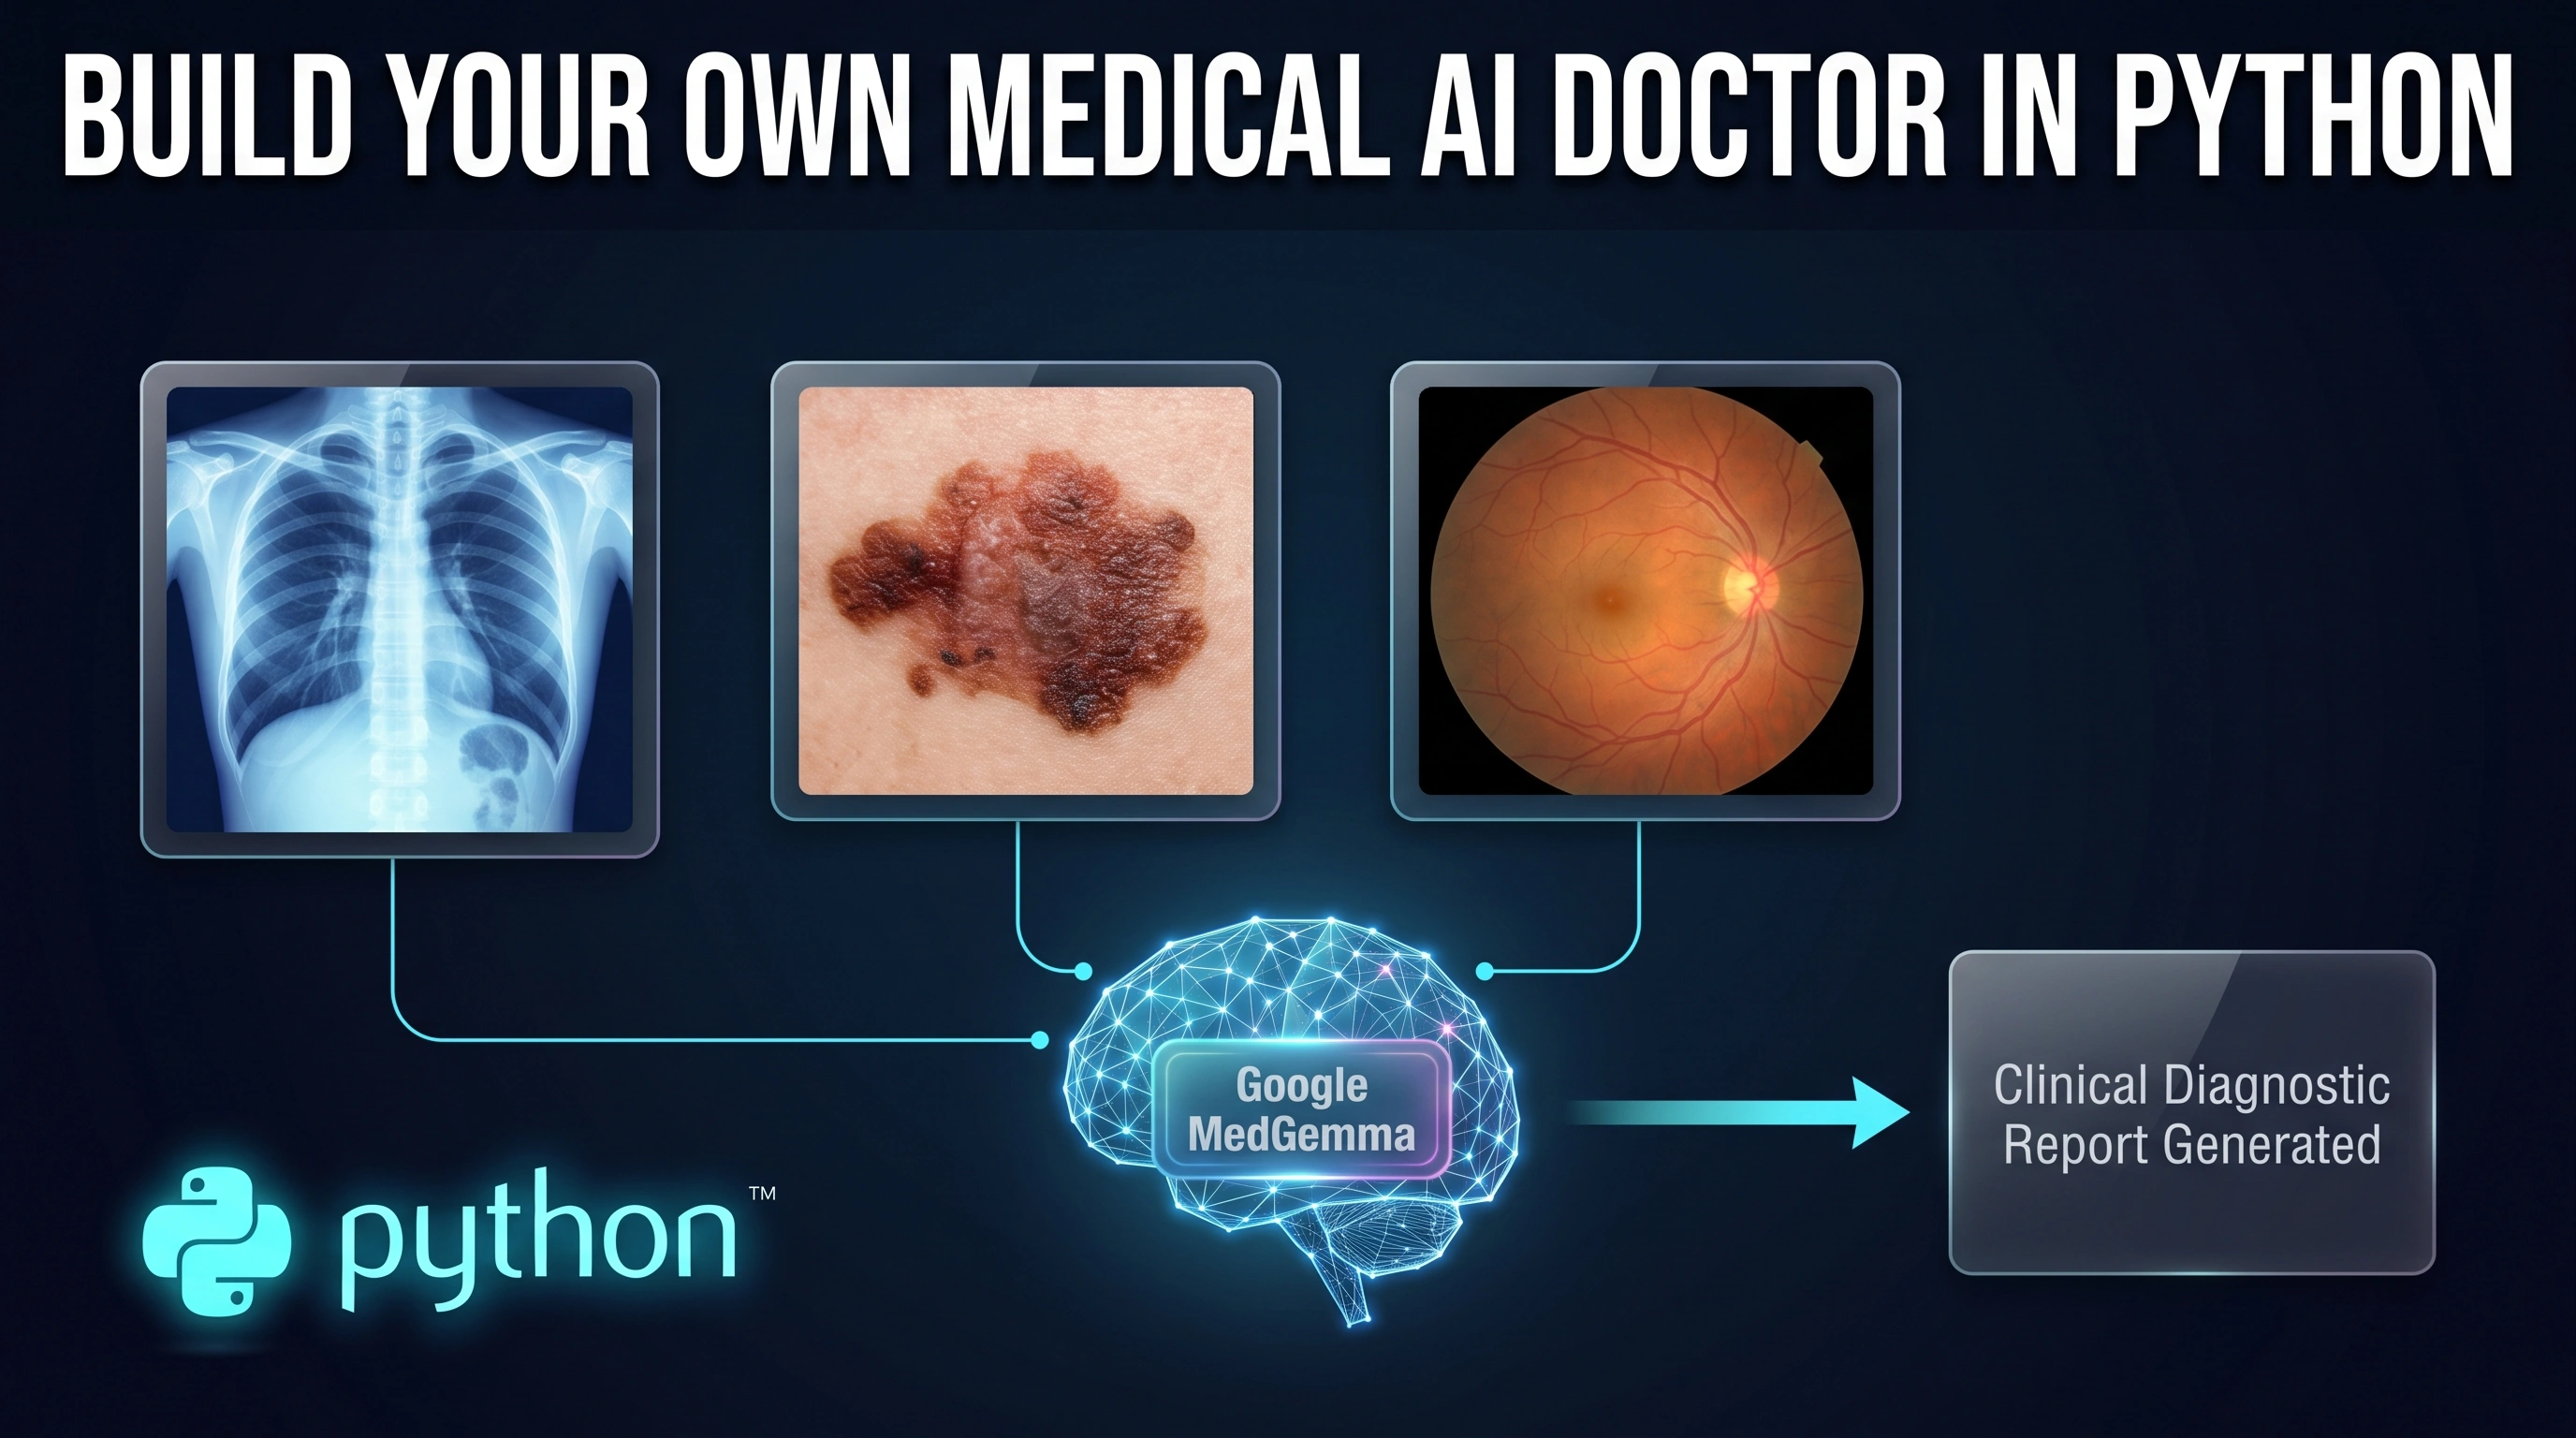
Google MedGemma represents a groundbreaking leap forward for developers, researchers, and healthcare technology enthusiasts looking to harness the power of artificial intelligence locally. This article is a comprehensive, step-by-step tutorial focused on implementing this state-of-the-art multimodal model on consumer-grade hardware. We dive deep into the practicalities of setting up a medical visual question-answering pipeline using Python, moving beyond theoretical discussions to provide a fully functional code implementation. The primary focus is enabling you to run sophisticated clinical vision models on hardware you likely already own, bypassing the need for expensive, specialized datacenter GPUs or restrictive cloud APIs.
By mastering the techniques detailed here, you will gain the autonomy to inspect complex clinical images—such as chest X-rays, dermatology lesions, histopathology slides, and fundus images—directly on your local machine, ensuring complete data privacy and removing latency bottlenecks. The value proposition of this guide lies in democratization; we break down the complex barriers that typically surround high-end medical AI deployment. You will discover how Google MedGemma, despite being a formidable multimodal model, can be optimized to run efficiently with minimal VRAM, unlocking a realm of possibilities for local innovation, personalized research projects, and educational prototyping without significant financial investment.
To achieve this, the article provides an exact blueprint for the entire development lifecycle, starting from environmental configuration and authenticating with Hugging Face to obtain model access. We carefully explain how to leverage advanced 4-bit NF4 quantization via the BitsAndBytes library, which is the crucial mechanism that compresses Google MedGemma to fit comfortably within the 4GB to 8GB VRAM footprint common in many consumer workstations. Beyond installation, you will learn the precise method for structuring multimodal chat templates and defining clinical system instructions, ensuring the model’s textual output remains factually consistent and tailored for accurate clinical diagnostic support.
By the end of this tutorial, you will have constructed a robust pipeline capable of accepting a local clinical image and generating zero-shot radiological impressions or pathology reports deterministically. The techniques taught here—preprocessing images for the SigLIP vision encoder, deterministic generation settings, and structured prompt engineering—form the foundational skillset required to build the next generation of private, powerful healthcare AI tools. This article equips you with the knowledge not just to run Google MedGemma , but to truly integrate its multimodal intelligence into your own tailored medical analysis applications.
Ready to build private medical AI? Meet Google MedGemma Google MedGemma is not just another large language model; it is a highly specialized collection of multimodal models specifically fine-tuned for the rigorous demands of the healthcare domain. Built upon the powerful Gemma 3 architecture, these variants are engineered to excel at complex clinical reasoning tasks that involve both intricate medical text and diverse clinical imaging. While typical AI models fail when confronted with specialized medical terminology or subtle pathological cues in radiology scans, MedGemma shines, providing context-aware analysis and structured reporting across a wide variety of medical specialties, from dermatology to ophthalmology. This incredible capability brings the expertise of a multimodal diagnostic assistant directly into the developer’s toolkit.
The primary target audience for Google MedGemma includes AI developers, medical researchers, healthcare data scientists, and students who are focused on building downstream clinical applications or conducting private research. Because MedGemma is an open-weights model accessible through platforms like Hugging Face, it empowers the broader community to innovate outside the constraints of proprietary cloud-based medical systems. Whether you are developing a proof-of-concept tool for assisting radiologists in underserved areas, prototyping a dermatology screening app, or training to understand complex clinical decision pipelines, MedGemma serves as an invaluable, secure foundation that respects patient data privacy by allowing full local execution.
At a high level, the intelligence behind Google MedGemma stems from its specialized, rigorous training regimen. The models combine a powerful SigLIP image encoder—pre-trained on massive, de-identified medical datasets including chest X-rays, histopathology slides, and fundus images—with an LLM component trained on medical text and question-answer pairs. This dual capability allows MedGemma to “see” a pathological feature in a scan and simultaneously “reason” about it using vast medical knowledge base context, generating coherent and medically relevant diagnostic impressions. By fine-tuning this specialized architecture, Google has optimized MedGemma for high performance on clinical visual question answering, medical report generation, and medical record comprehension, all while maintaining a parameter size that allows for efficient, local deployment.
Medical Analysis for a sample image : Melanoma Here is the Analysis report : Analyzing: melanoma.jpg…
— MedGemma Analysis Report —
1. Anatomical Modality and Perspective:
Modality: Dermatology (skin lesion)Perspective: The image is a close-up view of a skin lesion on the body. 2. Visible Abnormalities, Opacities, Fractures, or Pathologies:
Lesion: A dark, irregularly shaped lesion is visible on the skin. The lesion appears to have a central area of increased darkness.Other: The skin surrounding the lesion appears relatively normal. 3. Concluding Clinical Diagnostic Impression:
Based on the image, the most likely diagnosis is a melanoma .
Explanation:
The presence of a dark, irregularly shaped lesion on the skin is a concerning finding. Melanomas are often characterized by these features. While other skin conditions could potentially present with similar lesions, the dark color and irregular shape are highly suggestive of melanoma.
Build Your Own Medical AI with Google MedGemma and Python 10 How this Python pipeline turns Google MedGemma into your local clinical assistant Can you really run state-of-the-art medical multimodal analysis locally without a supercomputer? Yes. By combining Hugging Face Transformers with 4-bit NormalFloat quantization through BitsAndBytes, the script compresses the 4-billion-parameter MedGemma architecture into roughly 3 to 4 gigabytes of VRAM. This optimization lets standard consumer desktop GPUs process high-resolution clinical scans locally, privately, and deterministically without sending sensitive patient data to external cloud APIs.
The core script, medical_image_analyzer.py, serves as an end-to-end blueprint for loading, configuring, and executing zero-shot multimodal inference on medical imagery. Rather than relying on rigid, single-task classifiers, this code establishes a flexible visual question-answering workflow capable of parsing diverse clinical modalities, including radiology scans, dermatology photographs, ophthalmology fundus images, and histopathology slides. The primary objective is to give developers and researchers a working, hands-on framework that bridges raw clinical pixel data with natural language diagnostic reasoning directly inside a local Python environment.
To make large-scale multimodal vision accessible on everyday hardware, the script initializes the model using a 4-bit NormalFloat quantization configuration. By delegating computation to bfloat16 while storing the model weights in 4-bit precision via the BitsAndBytesConfig, memory consumption drops drastically from typical fp16 requirements down to an accessible 3 to 4 gigabytes. This architectural choice makes local deployment fully practical on consumer hardware, removing high cloud costs and strict hardware barriers while keeping clinical data processing entirely on-premise.
Once loaded, the pipeline handles multimodal inputs through Hugging Face’s unified AutoProcessor. Medical images are loaded via PIL, converted to standardized RGB color spaces, and prepared for the underlying SigLIP vision encoder, which normalizes images to 896 by 896 resolution. In parallel, the text query is formatted alongside an authoritative system prompt using the official chat template designed for Gemma 3. This prompt engineering anchors the model’s persona as an expert clinical diagnostic assistant, establishing clear expectations for anatomic localization, lesion characterization, and systematic reporting.
During the inference phase, the script invokes PyTorch’s non-tracking inference mode to maximize GPU execution speed and prevent unnecessary memory allocation. Generation parameters are intentionally calibrated for clinical consistency: sampling is disabled to ensure deterministic, reproducible results, while the output token budget is bound to produce concise, structured findings rather than erratic conversational drift. The resulting tokens are decoded directly into readable clinical impressions, delivering an automated, end-to-end diagnostic summary straight to the developer console.
Link to the tutorial here .
Download the code for the tutorial here or here .
Link for Medium users here
Master Computer Vision
Follow my latest tutorials and AI insights on my
Personal Blog .
Beginner Complete CV Bootcamp
Foundation using PyTorch & TensorFlow.
Get Started → Interactive Deep Learning with PyTorch
Hands-on practice in an interactive environment.
Start Learning → Advanced Modern CV: GPT & OpenCV4
Vision GPT and production-ready models.
Go Advanced → Build Your Own Medical AI with Google MedGemma and Python 11 Build Your Own Medical AI with Google MedGemma and Python Deploying deep learning in healthcare has historically required massive compute clusters and complex inference servers. With the release of Google MedGemma , running a state-of-the-art multimodal clinical diagnostic assistant directly on consumer hardware is now fully achievable.
This tutorial walks through building a local clinical vision pipeline in Python using google/medgemma-4b-it. By integrating 4-bit NF4 quantization with BitsAndBytes, the model fits into 4GB–8GB of VRAM, allowing you to analyze chest X-rays, dermatology lesions, histopathology slides, and fundus images directly on your local workstation.
Laying the groundwork with environment setup and non-blocking visual inspection Initializing a clinical vision workflow requires both reliable dependency management and responsive visualization. Medical image diagnosis demands that the developer inspect the input pathology scan while the GPU processes the multimodal tokens asynchronously. By leveraging PyTorch 2.6, CUDA acceleration, and a dedicated Conda virtual environment, we eliminate driver conflicts and ensure consistent execution.
The visual component of this pipeline uses Pillow and Matplotlib to handle high-resolution image rendering. Instead of blocking the Python execution thread with standard plot loops, we implement a non-blocking display mechanism. This ensures that when an image is fed to the model, an interactive inspection window pops up immediately, while background tensors prepare for inference.
This foundation enables seamless multi-specialty analysis. Whether loading a high-contrast chest radiograph or a pigmented skin lesion, the script standardizes image dimensions and provides a visual reference for your diagnostic queries before the model begins text generation.
Why is non-blocking image display critical during local model inference? Using a non-blocking display via plt.show(block=False) and plt.pause(0.5) allows Matplotlib to render the target medical scan in a dedicated GUI window while the Python interpreter continues executing the downstream model inference pipeline. This prevents thread freezing and lets developers cross-reference real-time visual pathology with generated diagnostic text as it streams into the console.
Preparing your development environment for local Google MedGemma execution Configuring an optimized machine learning environment is essential before running multimodal architectures locally. Advanced clinical vision models require precise synchronization between the Linux subsystem, your GPU drivers, the CUDA compilation toolkit, and PyTorch. By deploying this stack inside Windows Subsystem for Linux (WSL), developers achieve native Linux computational performance while maintaining their primary desktop workflow.
Creating an isolated Conda environment prevents package conflicts and keeps dependencies modular. Running Google MedGemma demands an updated software foundation; specifically, Gemma 3 architectures require Hugging Face Transformers version 4.50.0 or newer, alongside PyTorch 2.6 compiled for CUDA 12.6. In addition, the BitsAndBytes library is integrated to handle 4-bit memory quantization, and Matplotlib handles immediate visual rendering.
Finally, because MedGemma is an open-weights foundation model governed by healthcare safety standards, Hugging Face requires explicit user acknowledgment before weights can be downloaded. Once terms are accepted, authenticating your local terminal using a dedicated Hugging Face access token grants permission to stream the checkpoints directly to your local workstation.
Why is WSL and an isolated Conda environment necessary for running MedGemma? WSL delivers a native Linux runtime that allows BitsAndBytes and CUDA kernels to compile and execute without the platform-specific library limitations often encountered on bare Windows environments. Pairing WSL with an isolated Python 3.11 Conda environment guarantees that specialized dependencies, such as Transformers 4.50+ and PyTorch 2.6, run without interfering with other system-level machine learning libraries.
### Open Windows PowerShell and launch the Windows Subsystem for Linux instance. wsl ### Initialize an isolated Conda virtual environment using Python version 3.11. conda create -n medgemma python= 3.11 -y ### Activate the newly created medgemma environment for package installation. conda activate medgemma ### Verify the installed NVIDIA CUDA compiler driver version on your workstation. nvcc --version ### Install PyTorch 2.6.0 with matching torchvision and torchaudio packages built for CUDA 12.6. pip install torch== 2.6 .0 torchvision== 0.21 .0 torchaudio== 2.6 .0 --index-url https://download.pytorch.org/whl/cu126 ### Install Hugging Face Transformers version 4.50.0 or higher required for Gemma 3 models. pip install -U " transformers>=4.50.0 " accelerate huggingface_hub pillow bitsandbytes ### Install Matplotlib to handle non-blocking clinical scan visualizations. pip install matplotlib ### Navigate to https://huggingface.co/google/medgemma-4b-it in your browser and accept the Health AI terms. ### Generate a read-only access token under your Hugging Face account settings (https://huggingface.co/settings/tokens). ### Export your personal Hugging Face access token into your Linux environment variable. export HF_TOKEN = " hf_YourToken " ### Authenticate your local Hugging Face command-line interface using the active token. hf auth login --force ### Create and switch to a dedicated project directory on your drive. cd c:/tutorials mkdir medgemma cd medgemma ### Launch Visual Studio Code directly inside the active project folder. code . ### Inside VS Code, press <Ctrl> + <Shift> + P and select "Python: Select Interpreter". ### Choose your active "medgemma" Conda environment to link your editor with the installed libraries. This installation walkthrough ensures that all platform prerequisites, GPU hardware drivers, Hugging Face authentication tokens, and development tools are aligned. With the environment ready and the gated repository unlocked, we can proceed to inspecting medical scans and loading the quantized model weights.
Building the Visual Inspection Loop and Initializing Pipeline Dependencies Before executing complex multimodal inference, setting up the runtime environment and an interactive preview workflow ensures reliable model evaluation. In this opening block, we import the foundational libraries required for the pipeline: torch for managing CUDA-accelerated tensor arithmetic, Hugging Face transformers and bitsandbytes to load and quantize the Google MedGemma checkpoint, and PIL paired with matplotlib for file ingestion and visualization. The script also defines the official model identifier (google/medgemma-4b-it) and encapsulates the display_image() utility. By configuring Matplotlib in a non-blocking state (block=False), this function pops up a clean, full-scale inspection window of the target scan—whether a chest X-ray, melanoma patch, or fundus photograph—allowing you to visually verify lesions, artifacts, and anatomical structures in real time while the GPU concurrently prepares the underlying vision-language tensors.
### Import operating system utilities to verify local file existence before processing. import os ### Import PyTorch to manage CUDA tensor operations and bfloat16 hardware acceleration. import torch ### Import Matplotlib pyplot to render clinical scans in an interactive window. import matplotlib.pyplot as plt ### Import Python Imaging Library to handle multi-format medical scan decoding and RGB conversion. from PIL import Image ### Import Hugging Face Transformers components and 4-bit quantization configuration helpers. from transformers import AutoProcessor, AutoModelForImageTextToText, BitsAndBytesConfig ### Define the official Hugging Face repository identifier for Google MedGemma instruction-tuned 4B model. MODEL_ID = " google/medgemma-4b-it " ### Define a reusable function to display target medical images without interrupting code execution. def display_image ( image_path: str ) : """ Display the medical image using matplotlib in a non-blocking window. """ ### Load the raw image file from disk using PIL. img = Image.open ( image_path ) ### Create an expanded figure window to ensure clear visualization of small lesions or fractures. plt.figure(figsize =(7, 7 )) ### Render the pixel array within the active Matplotlib canvas. plt.imshow(img ) ### Set the plot title using the specific filename for immediate scan identification. plt.title(f "Target: {os.path.basename(image_path)}" , fontsize= 12 ) ### Remove axis ticks and pixel coordinate grids for a clean, clinical radiograph view. plt.axis( "off" ) ### Adjust subplot margins to eliminate dead whitespace around the scan. plt.tight_layout () ### Render the canvas in a non-blocking state so script execution proceeds immediately to model loading. plt.show ( block = False ) ### Pause execution briefly to give the operating system window manager time to draw the canvas. plt.pause(0.5 ) This initial stage establishes the core libraries and UI utilities needed for diagnostic workflows. With dependencies locked and the display function operational, our pipeline can load input images while keeping system memory and execution loops responsive.
Loading Google MedGemma in 4-bit precision to overcome VRAM bottlenecks Running advanced multimodal LLMs locally often requires high-end datacenter GPUs due to memory demands. In standard 16-bit floating point precision, loading a 4-billion-parameter model alongside vision encoders and activation caches requires upwards of 12GB to 16GB of VRAM. For developers working on standard desktop GPUs, like an RTX 3060 or RTX 4060, hardware memory limits quickly become a barrier.
To solve this, our pipeline leverages BitsAndBytes 4-bit NormalFloat (NF4) quantization . Quantizing the neural weights reduces the operational memory footprint to roughly 3.5GB of VRAM while preserving clinical reasoning fidelity. Calculations are executed in torch.bfloat16, maintaining numerical stability across the transformer layers during prompt processing.
In this step, we initialize both the model and the AutoProcessor. The processor coordinates image preprocessing (rescaling images to 896×896 resolution for the SigLIP vision backbone) and text tokenization. This setup ensures that Google MedGemma fits onto your local GPU with room to spare for inference tensors.
How does 4-bit NF4 quantization preserve diagnostic accuracy on consumer GPUs? NormalFloat 4 (NF4) is an information-theoretically optimal quantile quantization scheme designed for normally distributed neural weights. By combining NF4 storage with a bfloat16 compute data type, BitsAndBytes isolates and preserves high-magnitude outlier weights that carry critical clinical reasoning features, drastically cutting memory consumption while minimizing benchmark degradation.
### Define the core loading routine that configures quantization and model weights. def load_medgemma ( use_4bit: bool = True ) : """ Load the MedGemma model and processor. Uses 4-bit quantization via bitsandbytes to fit comfortably within 8GB VRAM. """ ### Print status update indicating the active Hugging Face model repository. print (f "Loading model checkpoint: {MODEL_ID}..." ) ### Initialize an empty variable to hold our optional quantization settings. quantization_config = None ### Check if 4-bit quantization has been enabled by the caller. if use_4bit: ### Configure BitsAndBytes for 4-bit NF4 weight storage and bfloat16 mathematical compute. quantization_config = BitsAndBytesConfig ( load_in_4bit = True, bnb_4bit_quant_type = " nf4 " , bnb_4bit_compute_dtype = torch.bfloat16 ) ### Instantiate the unified processor to handle tokenization and SigLIP image transformation. processor = AutoProcessor.from_pretrained ( MODEL_ID ) ### Download and load the multimodal weights into GPU memory with automated layer distribution. model = AutoModelForImageTextToText.from_pretrained ( MODEL_ID, device_map = " auto " , torch_dtype = torch.bfloat16, quantization_config = quantization_config ) ### Confirm that the model weights and vision encoders are mapped to active hardware. print ( "Model successfully loaded into memory." ) ### Return both the prepared processor and instantiated model to the caller. return processor, model By completing this loading step, the pipeline establishes a low-memory runtime environment for Google MedGemma . The architecture is now loaded and ready to process multimodal medical prompts.
Crafting clinical prompts and executing deterministic visual diagnosis Medical visual question-answering requires careful prompt construction to produce reliable, clinically sound evaluations. Generic vision-language models can generate loose, overly broad descriptions. To prevent this, our pipeline sets a clear system role that frames the assistant as an expert clinical specialist across radiology, dermatology, ophthalmology, and pathology.
We format our inputs using Gemma 3’s native multimodal chat template. This structure pairs the normalized RGB image tokens with the user’s clinical inquiry, preparing the sequence for the underlying attention heads. The text prompt directs the model to identify the anatomical perspective, document visible lesions or opacities, and generate a clear diagnostic summary.
For inference, we run generation deterministically by disabling sampling (do_sample=False). In healthcare applications, reproducibility is critical; stochastic sampling introduces unwanted variance into diagnostic reports. The output tokens are decoded directly into clear clinical impressions.
Why is greedy decoding preferred over random sampling in medical visual reasoning? Setting do_sample=False activates greedy deterministic decoding, where the model selects the single highest-probability token at each generation step. In medical imaging workflows, this prevents conversational drift, hallucinated artifacts, and inconsistent reports across identical scans, ensuring dependable clinical outputs.
### Define the core analysis pipeline that accepts an image, prompt, and loaded models. def analyze_medical_image ( image_path: str, prompt: str, processor: AutoProcessor, model: AutoModelForImageTextToText, max_new_tokens: int = 400 ) - > str: """ Run visual question answering / diagnosis inference on a local medical image. """ ### Verify that the target image exists locally on disk before initiating inference. if not os.path.exists ( image_path ) : ### Raise an exception if the file path is incorrect or missing. raise FileNotFoundError ( f "Target image not found at path: {image_path}" ) ### Open the scan from disk and enforce a standard RGB color space for the SigLIP vision encoder. raw_image = Image.open ( image_path ) .convert ( "RGB" ) ### Build the formal chat structure with specialized clinical system instructions. messages = [ { "role" : " system " , "content" : [ { "type" : " text " , "text" : ( "You are an expert medical specialist and clinical diagnostic assistant. " "Thoroughly analyze the provided medical image across its relevant modality " "(radiology, dermatology, ophthalmology, or pathology). " "Describe the key anatomical and clinical findings, and clearly specify " "whether any pathology, abnormality, lesion, or disease is detected." ) } ] } , { "role" : " user " , "content" : [ { "type" : " text " , " text " : prompt}, { "type" : " image " , " image " : raw_image} ] } ] ### Apply the Gemma chat template to tokenize text and extract vision feature tensors. inputs = processor.apply_chat_template ( messages, add_generation_prompt = True, tokenize = True, return_dict = True, return_tensors = " pt " ) .to ( model.device ) ### Record the exact length of input tokens to separate the prompt from newly generated output. input_len = inputs[ " input_ids " ].shape[ -1 ] ### Execute deterministic token generation within PyTorch inference mode. with torch.inference_mode () : ### Generate output tokens up to the configured token budget without random sampling. outputs = model.generate ( **inputs, max_new_tokens = max_new_tokens, do_sample = False ) ### Slice off the prompt tokens to isolate only the model's new clinical diagnostic response. generated_tokens = outputs[ 0 ][input_len:] ### Decode the generated token IDs back into human-readable clinical text. return processor.decode ( generated_tokens, skip_special_tokens=True ) This function forms the analytical core of the pipeline. It translates raw pixel arrays and clinical prompts into structured, reproducible diagnostic reports.
Executing the diagnostic pipeline and reviewing findings across medical domains The final component ties the setup together into an automated entry point. In standard production environments or test benches, developers need to swap test files quickly across modalities—moving between chest X-rays, melanoma skin lesions, fundus photographs, and histopathology slides without refactoring core logic.
The main execution block defines a target file path and structures the clinical inquiry into three distinct steps: modality identification, abnormality detection, and diagnostic conclusions. It then orchestrates visual display, model quantization, and inference execution in sequence.
Once inference finishes, the script prints the diagnostic report directly to the terminal while keeping the Matplotlib visual window open for manual verification. This gives developers an immediate, side-by-side view comparing visual anomalies with the model’s generated text findings.
How does the prompt structure guide the model across different imaging modalities? By breaking the query into three clear steps (identify modality, detect abnormalities, and provide an impression), the prompt forces the model to reason through the image systematically. This prevents the vision encoder from prematurely guessing a disease state before establishing anatomical context and verifying image artifacts.
### Provide the script entry point for local execution. if __name__ == " __main__ " : ### Specify local test files across different clinical imaging modalities. # test_image_path = "Normal chest radiograph - female.jpeg" # test_image_path = "melanoma.jpg" # test_image_path = "Diabetic Retinopathy.jpg" test_image_path = " carcinoma.jpg " ### Check that the specified test image exists in the local directory before proceeding. if os.path.exists(test_image_path ): ### Notify the user of the active medical image path. print (f "\nDisplaying image: {test_image_path}" ) ### Launch the non-blocking Matplotlib preview window. display_image(test_image_path ) ### Initialize Google MedGemma using 4-bit quantization to fit comfortably in VRAM. processor, model = load_medgemma ( use_4bit = True ) ### Formulate a structured clinical inquiry covering modality, abnormalities, and impressions. clinical_query = ( "Analyze this medical image: " "1. Identify the anatomical modality and perspective. " "2. Are there any visible abnormalities, opacities, fractures, or pathologies? " "3. Provide a concluding clinical diagnostic impression." ) ### Print an inference status notification to the developer console. print (f "\nAnalyzing: {test_image_path}..." ) ### Run the multimodal inference pipeline and obtain the structured clinical text report. report = analyze_medical_image ( test_image_path, clinical_query, processor, model ) ### Print a clear divider and present the generated findings. print ( "\n--- MedGemma Analysis Report ---" ) print (report) ### Keep the Matplotlib figure canvas open until manually dismissed by the user. print ( "\nClose the image window to finish execution." ) plt.show () else: ### Inform the developer if the requested file was not found in the working directory. print ( f "\nImage file '{test_image_path}' was not found. Place a sample image in the path and rerun." ) This execution block completes the local workflow. Running the script launches the scan inspection window, loads Google MedGemma into memory, and prints structured clinical impressions directly to the terminal.
FAQ Frequently Asked Questions (Interactive Schema) What is Google MedGemma, and how does it differ from base Gemma 3? Google MedGemma is an open multimodal model fine-tuned on healthcare data. While base Gemma 3 is built for general text and vision, MedGemma uses a specialized SigLIP encoder trained on X-rays, histology, and dermatology scans.
Can I run Google MedGemma on an 8GB GPU? Yes. By using 4-bit NF4 quantization via BitsAndBytes, the model’s footprint drops to roughly 3.5GB of VRAM, running easily on standard desktop GPUs like an RTX 3060.
Why is Google MedGemma gated on Hugging Face? Because it is a health-focused foundation model, Google requires developers to agree to its Health AI terms. Access is typically approved right after submitting the form on Hugging Face.
What image resolution does MedGemma process? MedGemma normalizes input images to 896×896 resolution and tokenizes each scan into 256 visual tokens using AutoProcessor.
Why is sampling turned off during inference? Disabling sampling ensures deterministic, repeatable output tokens, which helps prevent hallucinated artifacts in clinical reports.
What modalities does the 4B model support? MedGemma 4B is pre-trained across four primary imaging domains: radiology, dermatology, ophthalmology, and histopathology.
How do I authenticate with Hugging Face in Python? Export your Hugging Face read-only token using ‘export HF_TOKEN’ and authenticate your CLI with ‘hf auth login –force’.
Which package versions are required for Gemma 3 models? You need ‘transformers>=4.50.0’ along with PyTorch 2.6 and Accelerate to properly load Gemma 3 and MedGemma architectures.
Can MedGemma generate bounding boxes? MedGemma focuses on clinical report generation and visual Q&A. For bounding box detection, combine it with models like RT-DETR or Grounding DINO.
Is this script suitable for production medical diagnoses? No. The code is provided strictly for educational and research prototyping. Real-world medical deployment requires extensive clinical trials and regulatory approval.
The Path Forward: Scaling Local Healthcare Intelligence Running Google MedGemma on a local development workstation demonstrates how accessible high-performance healthcare AI has become. By pairing 4-bit NF4 quantization through BitsAndBytes with Hugging Face’s AutoModelForImageTextToText, we compressed an advanced 4-billion-parameter multimodal model into roughly 3.5GB of VRAM. This makes it possible to build private diagnostic pipelines without relying on paid cloud APIs or enterprise-grade GPU clusters.
Throughout this guide, we built a complete diagnostic pipeline in Python: managing dependencies with Conda and CUDA 12.6, handling gated Hugging Face repositories, structuring multimodal chat templates, and executing deterministic clinical inferences. Because the pipeline handles images across radiology, dermatology, ophthalmology, and histopathology, it provides a versatile foundation for local health-tech prototyping.
From here, you can expand this pipeline by building local graphical interfaces with Streamlit, adding vector databases for FHIR patient context, or pairing MedGemma with real-time detection architectures like RT-DETR for localized lesion tracking. With the right optimization techniques, modern multimodal models can run directly on consumer hardware—letting you experiment, iterate, and innovate freely.
Connect : ☕ Buy me a coffee — https://ko-fi.com/eranfeit
🖥️ Email : feitgemel@gmail.com
🌐 https://eranfeit.net
🤝 Fiverr : https://www.fiverr.com/s/mB3Pbb
 Skip to content