Last Updated on 16/10/2026 by Eran Feit
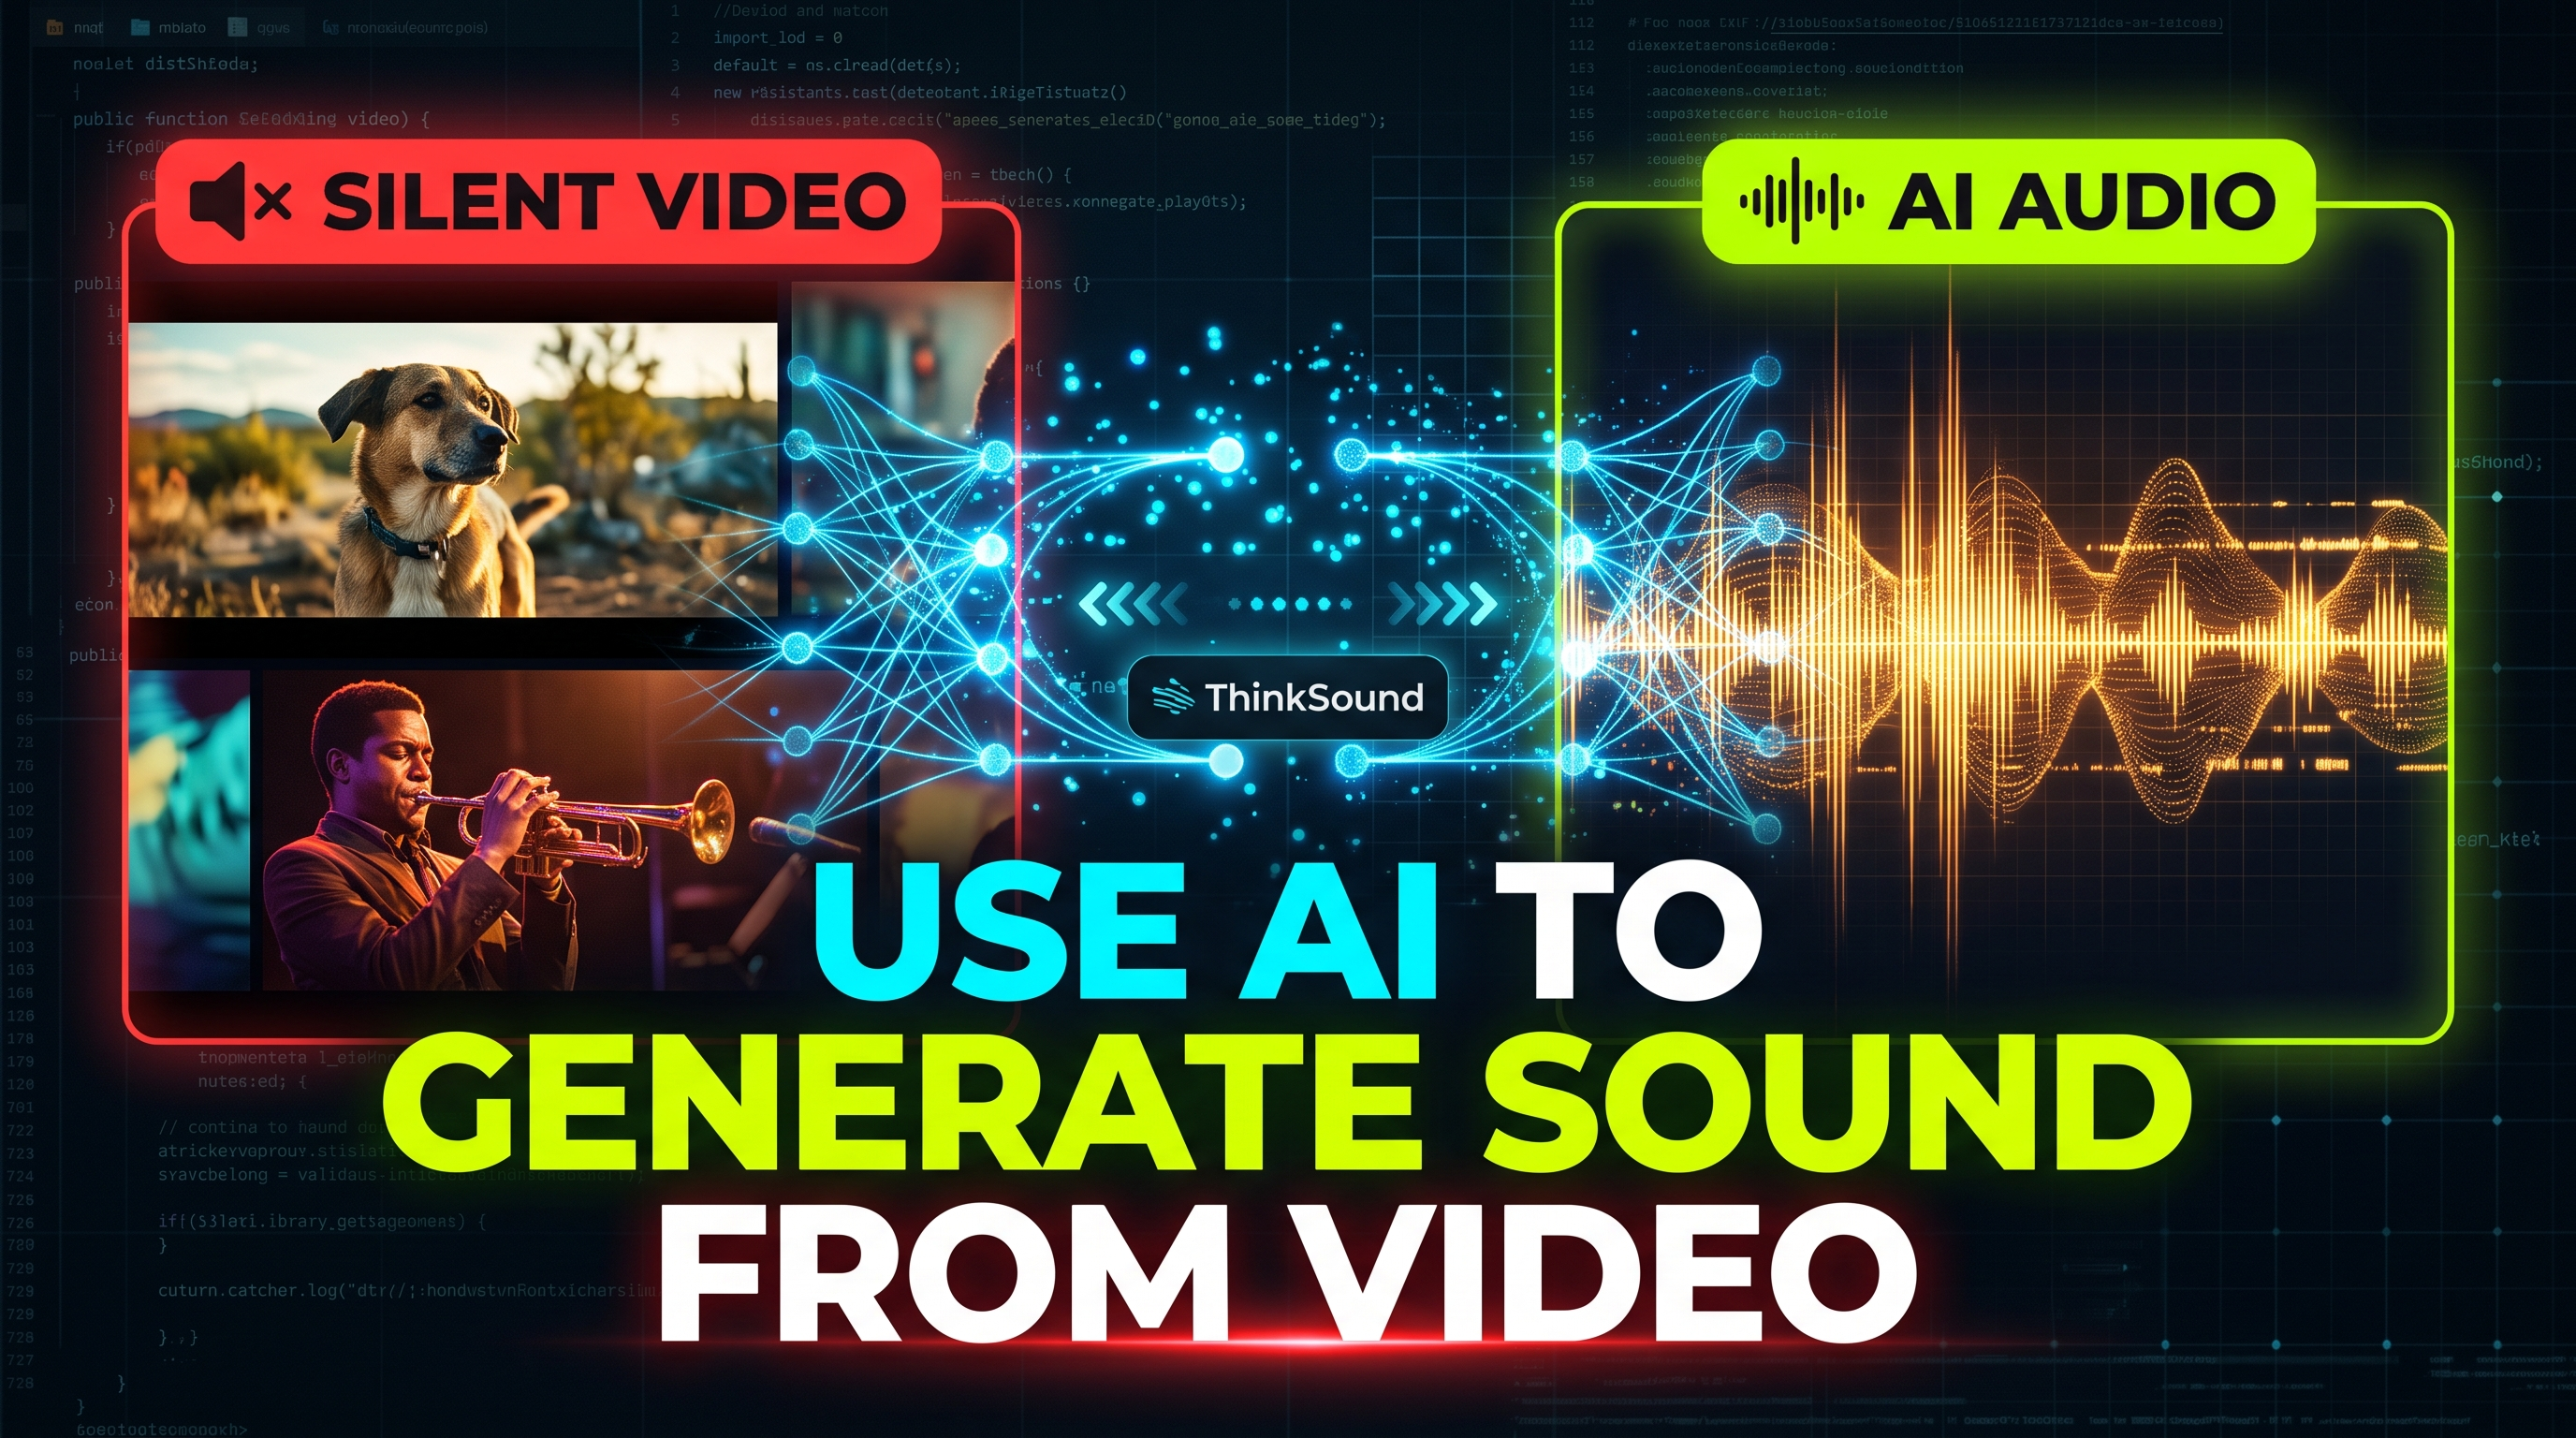
ThinkSound tutorial guides like this one provide developers, creative technologists, and artificial intelligence engineers with an end-to-end blueprint for bridging silent video footage and realistic, multi-layered audio synthesis. With the rapid expansion of generative video models, synthetic video generation often produces high-resolution visual footage devoid of native audio. This hands-on implementation guide walks through installing and deploying ThinkSound—an open-source multimodal Any2Audio framework—directly on your local machine using PyTorch and CUDA acceleration.
Rather than struggling through complex dependency mismatches or relying on costly proprietary cloud APIs, following this guide arms you with a fully reproducible, local development workflow. You gain practical mastery over setting up an isolated virtual environment, managing low-level GPU acceleration libraries, and resolving subtle package conflicts like setuptools compatibility and version-pinned Transformers requirements. Furthermore, running the architecture locally ensures complete data privacy and unrestricted customization over video-to-audio production pipelines.
The tutorial achieves this through an actionable, script-by-script walkthrough executed inside Linux or Windows Subsystem for Linux (WSL2). We begin by setting up a clean Conda environment, configuring PyTorch 2.6 with CUDA 12.6, and pulling the official pretrained neural model weights via Git LFS. We then integrate performance-oriented libraries such as FFmpeg, soxr, and ninja build utilities to prepare the system for high-throughput batch generation without encountering memory allocation bottlenecks.
To demonstrate how the system handles diverse real-world acoustic dynamics, you will execute inference across two distinct video benchmarks: temporal synchronization for an outdoor barking dog and expressive acoustic resonance for a live trumpet performance. Finally, you will see how to leverage FFmpeg CLI commands to multiplex the newly synthesized WAV waveforms back into the original MP4 video containers, delivering production-ready, synchronized audiovisual files directly to your storage disk.
What Is ThinkSound and How Does It Generate Audio from Video? ThinkSound is an open-source multimodal artificial intelligence architecture designed to solve the complex challenge of video-to-audio (V2A) synthesis. Unlike conventional text-to-audio engines that generate sound purely from descriptive prose, ThinkSound must analyze temporal video dynamics, understand physical object interactions across frames, and synthesize matching acoustic events with millisecond precision. The core target of the system is to eliminate the need for manual Foley sound recording and tedious timeline editing by automating the creation of context-aware ambient noise, transient impacts, character vocalizations, and musical instruments.
At a high technical level, ThinkSound operates as a unified Any2Audio framework combining Chain-of-Thought (CoT) reasoning with Flow Matching diffusion backbones. When fed a silent video and a structured prompt, the architecture does not jump straight from visual pixels to an audio spectrogram. Instead, it leverages a Multimodal Large Language Model to decompose the scene sequentially—reasoning step-by-step through the visual narrative to identify what action happens first, what sound characteristics follow, and how ambient acoustics should decay over time. These structured reasoning tokens serve as continuous conditioning signals that guide the flow matching generator to sculpt pure noise into high-fidelity acoustic waveforms.
The visual understanding layer is powered by synchronized visual encoders that map spatial and temporal cues from each video frame, while the audio decoding pipeline converts latent representations into high-sampling-rate audio files. By supporting runtime options such as half-precision FP16 feature extraction (use-half), the framework significantly reduces VRAM footprint during inference, allowing developers to execute state-of-the-art video-to-audio synthesis locally on standard consumer workstation GPUs.
The Ultimate ThinkSound Tutorial for Video-to-Audio AI 9 Building an End-to-End Video to Audio Pipeline with ThinkSound and Python What Makes This Code Workflow Practical for Local Workstations? This implementation provides a complete, self-contained shell and Python workflow that resolves brittle library conflicts, automates feature extraction with FP16 half-precision flags, and directly multiplexes synchronized audio back into the original MP4 video without requiring heavy third-party rendering software.
The primary objective of this code walkthrough is to bridge the gap between theoretical research repositories and a stable, repeatable local deployment on Linux and WSL2. Deploying state-of-the-art multimodal AI systems typically comes with installation hurdles, including mismatched CUDA runtimes, legacy packaging conflicts, and high VRAM demands. This tutorial provides a streamlined setup that prepares a clean Conda environment, configures PyTorch 2.6 with native CUDA 12.6 acceleration, and pins critical dependencies so the pipeline runs smoothly on consumer-tier GPUs.
Beyond the initial environment preparation, the script focuses on automating the retrieval and handling of heavy pretrained weights. By utilizing Git LFS, the workflow securely clones the full ThinkSound model checkpoints into a local directory, guaranteeing that model weights, tokenizer components, and configuration files remain directly accessible offline. System-level build tools like Ninja and GCC are integrated alongside audio processing libraries like soxr and soundfile to ensure that feature extraction and audio resampling run at high throughput without memory bottlenecks.
The core execution logic centers around a unified inference script that converts raw video frames and Chain-of-Thought text prompts into rich audio waveforms. Rather than passing simple keyword tags, the script demonstrates how to supply detailed temporal descriptions—such as distinguishing between an animal’s panting and its barking, or tracking an instrumentalist’s breath before acoustic brass resonance begins. By adding the half-precision flag to the command, the script minimizes GPU memory usage, allowing 8GB VRAM cards to process complex video inputs without crashing into Out-of-Memory exceptions.
Finally, the code demonstrates how to turn raw model output into a finished deliverable. Once the inference engine outputs the generated waveform file, a downstream FFmpeg command automatically binds the generated track back to the original silent video file. This step uses stream-copying for the video channel while encoding the audio stream into AAC, yielding a finalized, high-definition MP4 clip with synced Foley sound ready for playback and publishing.
Link to the tutorial here .
Download the code for the tutorial here or here .
Link for Medium users here .
Master Computer Vision
Follow my latest tutorials and AI insights on my
Personal Blog .
Beginner Complete CV Bootcamp
Foundation using PyTorch & TensorFlow.
Get Started → Interactive Deep Learning with PyTorch
Hands-on practice in an interactive environment.
Start Learning → Advanced Modern CV: GPT & OpenCV4
Vision GPT and production-ready models.
Go Advanced → The Ultimate ThinkSound Tutorial for Video-to-Audio AI 10 ThinkSound tutorial – Installation Setting up a local environment for advanced generative AI models can feel daunting when balancing CUDA configurations, PyTorch builds, and complex multi-package dependencies. In this ThinkSound tutorial , we break down the exact terminal commands and Python environment configuration required to deploy ThinkSound locally on Linux or Windows Subsystem for Linux (WSL2). By following this battle-tested setup, you avoid common package version traps and build a reproducible foundation for video-to-audio synthesis.
The installation workflow focuses on creating an isolated Python 3.10 Conda environment and linking PyTorch 2.6 with native CUDA 12.6 runtime acceleration. Rather than installing arbitrary versions that cause compatibility failures, we explicitly lock down FFmpeg, Git Large File Storage (LFS) for downloading multi-gigabyte checkpoints from Hugging Face, and essential media libraries like soxr and soundfile for ultra-clean audio decoding.
To ensure your local workstation maintains optimal performance without random memory crashes, we also pin transformers below version 4.43.4 and downgrade setuptools to bypass legacy pkg_resources issues. Following these exact specifications guarantees your GPU is ready to extract multimodal visual features and generate raw audio waveforms without running out of memory.
Mastering the Environment: CUDA, PyTorch, and Checkpoints Setup How Does Pinning Specific Package Versions Prevent Runtime Crashes in ThinkSound? Pinning transformers<=4.43.4 and setuptools<70.0.0 prevents breaking changes in multimodal feature extraction heads and avoids missing pkg_resources errors in underlying audio processing dependencies.
======================================================================== Installation Guide: ThinkSound - unified Any2Audio generation framework ======================================================================== Run on wsl / Linux !!! ### Clone the official ThinkSound repository from GitHub. git clone -b master https://github.com/liuhuadai/ThinkSound.git ### Navigate directly into the cloned project directory. cd ThinkSound ### Create an isolated Conda environment running Python version 3.10. conda create -n thinksound python= 3.10 ### Activate the newly configured environment. conda activate thinksound ### Verify that your NVIDIA CUDA compiler driver is recognized. nvcc --version ### Install PyTorch 2.6 with TorchAudio compiled specifically for CUDA 12.6. pip install torch== 2.6 .0 torchvision== 0.21 .0 torchaudio== 2.6 .0 --index-url https://download.pytorch.org/whl/cu126 ### Install the core ThinkSound library package from PyPI. pip install thinksound== 0.0 .19 ### Install FFmpeg locked below version 7 via Conda-Forge. conda install -y -c conda-forge ' ffmpeg<7 ' ### Initialize Git Large File Storage to support downloading neural checkpoints. git lfs install ### Clone the official pretrained model weights directly into the ckpts directory. git clone https://huggingface.co/liuhuadai/ThinkSound ckpts ### Update Linux package lists and install native build tools and system FFmpeg. sudo apt update && sudo apt install -y build-essential ninja-build ffmpeg ### Install Ninja and packaging build helpers into your Python environment. pip install packaging ninja ### Downgrade setuptools below version 70 to retain legacy pkg_resources support. pip install " setuptools<70.0.0 " wheel ### Install soxr and soundfile for high-quality audio resampling and saving. pip install soxr soundfile ### Pin Transformers to ensure consistent CLIP feature extraction behavior. pip install " transformers<=4.43.4 " # To improve inference and training speed, you may optionally install a FlashAttention backend compatible with your system and PyTorch version. his installation phase configures all system binaries, GPU compute paths, and pretrained weights into your working space. With the foundational packages verified, your local hardware is primed to execute neural audio synthesis without memory bottlenecks.
Thinksound tutorial : Run inferece Generate a sound for a barking dog In this stage of our ThinkSound tutorial , we transition from environment setup to actual inference by executing the Any2Audio pipeline against our first benchmark: dog.mp4. Generating realistic animal audio requires precise temporal synchronization; the model must accurately separate background outdoor rustling from the sharp, transient audio peaks of an open-mouth bark.
Instead of relying on ambiguous single-word prompts, ThinkSound accepts a Chain-of-Thought (CoT) description that provides a chronological roadmap of acoustic actions. By instructing the model to first synthesize light panting and then transition into distinct barks as the dog moves, the Flow Matching backbone conditions the noise sampling schedule to align with the video’s visual action timing.
Once the inference shell script finishes sampling, it writes the synthesized audio waveform directly to disk as a lossless WAV file. We immediately invoke FFmpeg to combine this new audio track with the original silent video stream without re-encoding the video frames, yielding a production-ready MP4.
Why Does Adding the “use-half” Parameter Matter on Consumer GPUs? The use-half parameter switches the visual feature extraction encoders to FP16 half-precision, cutting VRAM overhead dramatically so the model runs reliably on consumer GPUs with 8GB of memory.
You can find the video files here .
### Ensure the demo inference shell script has executable permissions. chmod +x scripts/demo.sh ### Review the general syntax: video path, title, CoT prompt, and half-precision flag. ./scripts/demo.sh < path-to-your-demo-vide o > < titl e > < CoT descriptio n > [use-half] ### Re-verify script permissions before starting the canine vocalization benchmark. chmod +x scripts/demo.sh ### Execute the ThinkSound pipeline on the dog video using half-precision. ./scripts/demo.sh " videos/dog.mp4 " " A dog barking " " First, a dog pants lightly, then barks clearly while wagging its tail outdoors " use-half ### Merge the newly synthesized WAV audio back into the silent MP4 video container. ffmpeg -y -i " videos/dog.mp4 " -i " results/1013_batch_size1/demo.wav " -c:v copy -c:a aac -map 0 :v:0 -map 1 :a:0 " results/1013_batch_size1/dog_with_audio.mp4 " This benchmark demonstrates how structured Chain-of-Thought prompting guides temporal alignment in dynamic live-action footage. With the video stream copied losslessly, the resulting MP4 delivers perfectly synchronized organic Foley sound.
Synthesizing Expressive Acoustics: Instrument Resonance and Final Video Multiplexing Generate a sound for a musician playing a trumpet Generating expressive instrumental acoustics presents a different engineering challenge than transient environmental Foley sound. In our second benchmark, trumpet.mp4, the deep learning model must understand physical musicianship: detecting when the performer inhales, tracking valve movements, and producing sustained harmonic brass resonance.
By providing a detailed Chain-of-Thought prompt that explicitly sequences the musician taking a breath followed by clear, melodic acoustic notes, ThinkSound’s diffusion architecture accurately models brass tone and reverberation. The Synchformer feature extractor aligns the acoustic onset with the physical movement of the musician’s embouchure and hands.
Once the inference finishes, our FFmpeg command maps the visual stream from input zero and the audio stream from input one, ensuring seamless synchronization. The resulting file delivers a realistic, cohesive audiovisual experience produced entirely on your local machine.
You can find the video files here .
### Execute ThinkSound on the trumpet solo video using breath and acoustic resonance prompts. ./scripts/demo.sh " videos/trumpet.mp4 " " A person playing the trumpet " " First, a musician takes a breath, then plays clear and melodic trumpet notes with acoustic resonance " use-half ### Multiplex the generated trumpet audio into the MP4 video using high-efficiency AAC encoding. ffmpeg -y -i " videos/trumpet.mp4 " -i " results/1014_batch_size1/demo.wav " -c:v copy -c:a aac -map 0 :v:0 -map 1 :a:0 " results/1014_batch_size1/trumpet_with_audio.mp4 " This second benchmark confirms the versatility of the ThinkSound architecture across complex musical harmonics and tight human physical interactions. The workflow completes the pipeline from raw silent video input to fully synchronized, high-fidelity media production.
Frequently Asked Questions : What hardware is required to run ThinkSound locally? An NVIDIA GPU with at least 8GB of VRAM running CUDA 12.6 is recommended. Using the use-half flag enables FP16 precision, keeping memory usage well within consumer GPU limits.
Can I run this pipeline on Windows directly without WSL2? ThinkSound is optimized for Linux environments due to its low-level build requirements and shell execution scripts. Running it inside WSL2 on Windows provides the necessary Linux compatibility while utilizing your GPU natively.
Why do we install FFmpeg through both Conda and apt? The apt installation provides system-level shared libraries and build dependencies required by media compilation tools. The Conda-Forge package ensures that Python and PyTorch call a version strictly compatible with internal tensor multiplexing.
What is the purpose of Chain-of-Thought (CoT) prompting in audio generation? CoT prompting breaks down the video’s acoustic progression into a sequential timeline of actions. This structured reasoning guides the diffusion process to generate the right sounds at the exact moments they occur visually.
How does ThinkSound synchronize audio with video movements? ThinkSound integrates visual encoders such as Synchformer and MetaCLIP to extract frame-by-frame temporal features. These visual embeddings guide the flow matching model to align audio transients with visual events.
Why do we pin transformers to version 4.43.4 or lower? Newer versions of the Hugging Face Transformers library introduced modifications to multimodal output dictionaries. Pinning version 4.43.4 ensures that feature extraction returns the exact tensor structures expected by the ThinkSound model.
What should I do if I encounter a CUDA Out-of-Memory (OOM) error? Ensure you are including the use-half argument at the end of the demo.sh command. You can also process shorter video clips or reduce input video resolution to conserve VRAM during feature extraction.
Can ThinkSound generate human speech or dialogue from video? ThinkSound is primarily designed for environmental sound effects, Foley, animal vocalizations, and musical instruments. Generating synchronized conversational speech typically requires dedicated lip-sync and voice cloning architectures.
Why is git-lfs necessary for downloading model checkpoints? Model weights are large binary files exceeding standard Git file size limits. Git LFS ensures that the actual multi-gigabyte neural network weights are downloaded rather than lightweight pointer files.
What does the FFmpeg command do with the generated audio? The FFmpeg command takes the original video and the newly created WAV file, copies the video stream without quality loss using -c:v copy, encodes the audio to AAC, and outputs a synchronized MP4 file.
Conclusion : Deploying local multimodal systems marks a significant evolution in automated content creation, bridging raw visual pixels with expressive audio design. Throughout this ThinkSound tutorial , we transformed a silent visual scene into a fully synchronized audiovisual experience entirely on local hardware. By mastering isolated Conda configurations, pinning sensitive library builds, and applying half-precision inference parameters, you now have a stable blueprint that bypasses common CUDA and VRAM constraints.
As open-source generative video models continue to advance, local video-to-audio synthesis pipelines will become an indispensable component of automated video production workflows. Whether your goal is generating high-fidelity Foley sound for games, adding rich acoustic instrument tracks to creative projects, or automating video post-production at scale, ThinkSound offers an adaptable, local foundation. Experiment with customized Chain-of-Thought prompts and new video inputs to explore the full creative range of flow-matching audio generation.
Connect : ☕ Buy me a coffee — https://ko-fi.com/eranfeit
🖥️ Email : feitgemel@gmail.com
🌐 https://eranfeit.net
🤝 Fiverr : https://www.fiverr.com/s/mB3Pbb
Enjoy,
Eran
 Skip to content